Do You Really Need These Pages?
The short answer is, “Yes,” for reasons that are obvious and some that are not.
We’ve all seen these kinds of pages at one time. Most of us think that they are there as courtesy to inform visitors what is happening. While this is nice, because improving the visitor experience for your website is a major concern, there are also other reasons why these pages are used. Reasons that you, as a website owner, should know.
Article At a Glance——————————–
Article Summary
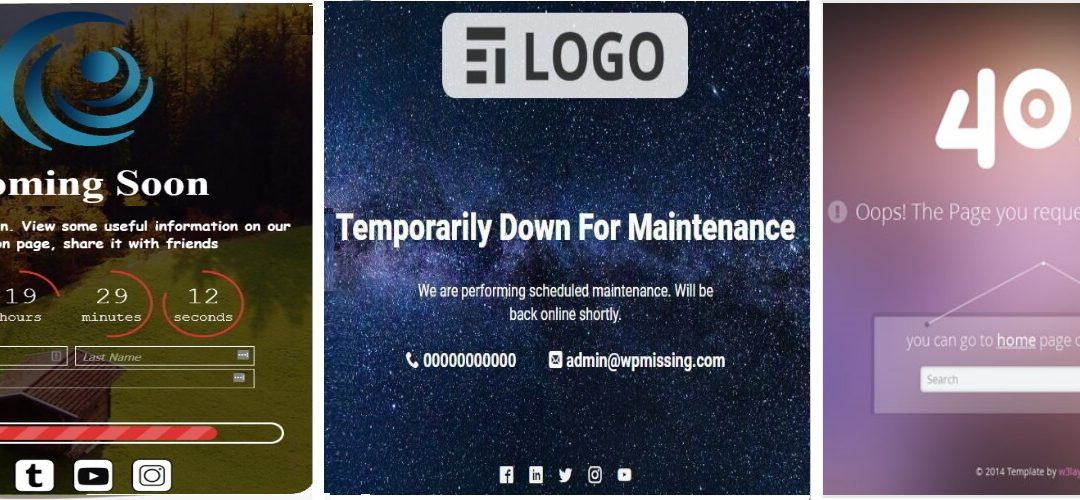
– Coming Soon Page
– Maintenance Mode Page
– 404 Page
Links to Resources
We’ve all seen these kinds of pages at one time. Most of us think that they are there as courtesy to inform visitors what is happening. While this is nice, because improving the visitor experience for your website is a major concern, there are also other reasons why these pages are used. Reasons that you, as a website owner, should know.
1. Coming Soon Page
When a visitor happens to visit your website before it is launched and finds a half-baked jumble of things, you can be assured that they won’t come back, even when it is finished. So, after you have registered your domain name, set up website hosting, and started building your site, one of the first things you should do is set up a “Coming Soon” or “Under Construction” page. That way, people will understand that your website is still a work in progress.
You can also include on the page components such as a countdown timer showing when you project the site will be launched (you can always change it later), a place for them to enter their email so they can be informed when your website is ready for prime time, and social media links.
But, what about Google and other search engines that come to your website to index and rank it and see that it is semi-completed? Unless they are told otherwise, they are going to simply go ahead and discover that this or that is missing, some pages are a mess, this doesn’t work, and many other things that are not right. They are not going to give your new site a very high evaluation.
But, with a properly configured Coming Soon page, they will know that the site is not completed and not to attempt to index or rank it yet. They will check back from time to time, and one day it will be completed and then they will start the process of evaluating it.
Some Coming Soon templates even able you to show in the background images of your company, people at work, or even general images representing your business field or industry. These images can be set to appear one after another like a slide show.
Here is an example with nature images which, of course, can be replaced.

Some templates even allow you to put video and audio in the background.
Here are the two most popular sources for Coming Soon templates:


2. Maintenance Mode Page
No website is perfect when it is first launched and nor does it stay the same. All websites undergo revisions, modifications, and updates from time to time. And when this happens, you need to put the site into “maintenance mode” to inform visitors that the site is temporarily unavailable while you make changes. Otherwise, they might find unfinished pages, broken links, mistakes, and other things which would be like getting caught with your pants down.
You also have to let search engines know the site cannot be accessed. When you put a site into maintenance mode, it returns what is known as a “503 error code” to search engines to let them know that your site is temporarily unavailable. Otherwise, they may think your site has crashed or is broken. Or, they made discover all sorts of strange things going on as your work on your site and penalize your search rankings for that.
Of course, you shouldn’t keep your site in maintenance mode for excessively long periods of time, or the search engines will get suspicious.
When you obtain your Coming Soon template, most of them will come with a setting to easily put your site into maintenance mode, as well as the ability to change the Coming Soon message. This is important because your website is already launched. Now, you need to tell people that it is down for maintenance and not “launching soon.”
You can still display the other components, including the countdown timer and social media links.
3. 404 Page
Visitors can make mistakes when trying to get to a page on your website. They could type in the url incorrectly or they could enter the correct url of a page which once existed but has since been deleted or moved. When that happens, your website generates a “404 error code” and takes the visitor to a “404” page. Fine, now the visitor knows something is wrong.
But, this is also a great opportunity for you to engage with those visitors. You could make the page somewhat humorous or creative. You can also add links (hopefully working ones) to other pages of your website that they may be interested in, so that they stay on your site and not go elsewhere. You can even include an ad for your products or services.
And, when you properly set a 404 page, search engines will know exactly what is going on and not penalize you.
When compose your 404 page, here are a few things you may want to take note of:
- Don’t make the page too deadpan, like “The page cannot be found,” and that’s it.
- Avoid starting off a large graphic identifying your page as a “404” page. This will make you appear too “techy.” The visitor is frustrated enough not being able to find the page they wanted to go to, and now they are confronted with a technical error code name. It would be best to put “Error code: 404” somewhere on the page, but small and inconspicuously.
- Try to lighten up the situation by injecting a bit of humor or creativity.
- Remember that your visitor is going to be frustrated or perplexed that they cannot reach the page they wanted to go to. You may want to show your visitor through images that you sympathize with their frustration, such as displaying a photo or drawing of a frustrated person.
- Don’t overdo your sympathy by using images of a person smashing their computer or throwing it out the window. This just helps to escalate the visitor’s frustration into anger or rage, which they may then direct that at you.
- If you include links to other pages of your website, always test them first.
- When you set up other links in your website, as a matter best practices for SEO purposes, you want the link to open up the destination page in a new browser tab or window. But, not with a link you set on a 404 page. You want that link to open in the same window or tab so it “replaces” the 404 page. In other words, you want to get rid of that 404 page as soon as possible.
Here are some noteworthy examples of a 404 page (Click to enlarge):


The easiest way to set up a 404 page is to use a plugin and obtain a template which you use as is or modify. If you are using the Divi theme, then get the Divi 404 Page Builder plugin available through Divi Cake.

And, if you want some inspiration on creating your new 404 page, DiviNext has a collection of over 50 examples. These are all based on the Divi theme, but even if you are not using the Divi theme, this collection is a very good reference.
So, we hope we have answered the question about whether these three types of pages are necessary for your website. They are!
Please leave us a comment to let us know what you think about these pages. And, if you have any examples of these pages that impressed you, paste in the link.
Don’t hesitate to contact us if you have any related questions or concerns.
Links to Resources
Here are the direct links to the resources mentioned in the article. Click on the “up” arrow to jump to the section in the article where the resource is mentioned or click the link to go directly to the corresponding webpage.
1) ↑ DpDev Art Coming Soon plugin: https://wpdevart.com/wordpress-coming-soon-plugin/
2) ↑ SeedProd Coming Soon plugin: https://www.seedprod.com/
3) ↑ 404 Page Builder for Divi plugin: https://divicake.com/products/divi-404-page-builder/
4) ↑ DiviNext 404 Layouts: https://plugins.divinext.com/divi-next-404-layouts/


Recent Comments